User guide
Our new rearrange tool  allows users to effortlessly modify design sequences, trim points, and start/exit points all at once. It works within a single color layer, displaying the entire sequence graphically and allowing for simple drag operations to make changes. Users can also add or remove trims and adjust start and exit points with ease. This innovative tool streamlines the design process, saving time and improving efficiency.
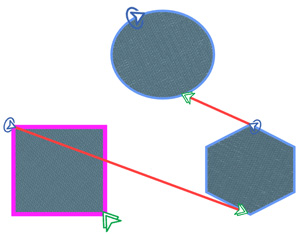
The rearrange tool becomes available after switching from "Auto" sequence to "Manual". To activate it you must select any object and click on it. The connections between the objects will appear with a red line.
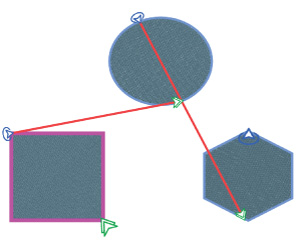
In the same mode, you will view the “Entry” and “Exit”
 points of each object.
The “Entry” point is the exact location where the first stitch will be placed, and the object will start filling with stitches.
The “Exit” point is the exact location from where the object will exit the object and the last stitch will be placed.
Change the order between two objects
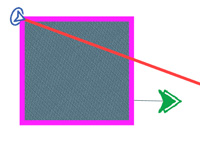
To change the order between the objects with the same color you must drag from one object towards the object you want to be embroidered after it. During dragging a blue arrow will appear showing the direction. Once the arrow gets inside the object you want, it will become "red", showing you that you can release it and apply the change.
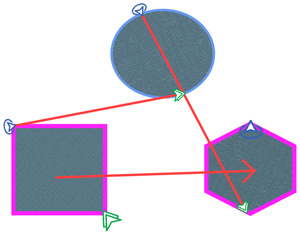
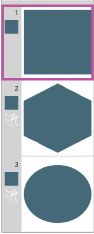
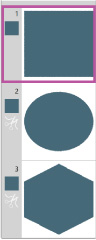
The order on the sequence manager will change automatically together with the red line connecting the two objects. The “Entry” and “Exit” points of the new connection will be set automatically from the software.
Change the order between two objects by forcing a jump-stitch
If you want to force a jump-stitch (no thread trim) between the two objects hold down the “Alt” key while dragging from the first object to the second. The “Entry” and “Exit” points will be set at the closest connection distance between the two objects.When the arrow hovers over the second object, it remains blue.
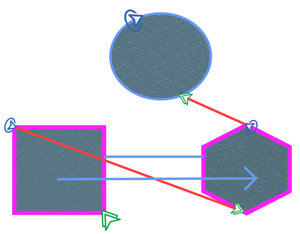
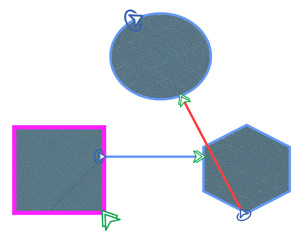
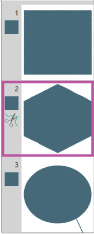
On the sequence manager, you will see that the "No-thread trim"  icon is added on the object and the connection will be made with a jump-stitch.
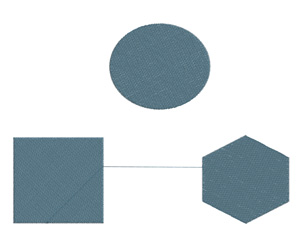
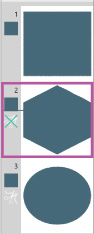
Change the order between two objects by forcing a thread trim
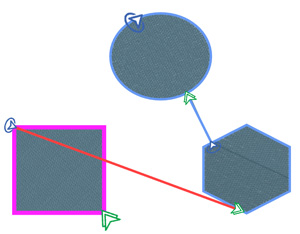
If you want to force a thread trim between the two objects that were set to have jump-stitches by the software, hold down the “Ctrl” or "Cmd" key while dragging from the first object to the second.
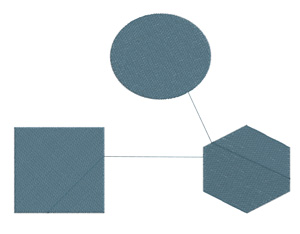
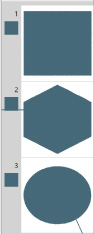
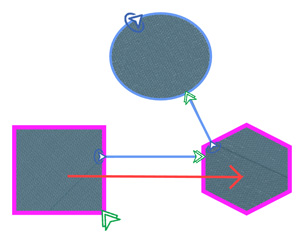
A thread trim will be made between the two objects and the "Thread trim" special function will be added on the sequence manager. The “Entry” and “Exit” points will be reset and set automatically from the sosftware.
Change entry or exit point
To change the "Entry" and "Exit" points while you are inside the Rearrange tool you can simply hover over the respective icon and the cursor will change to a cross. While the cursor is a cross, click and drag it to its new position. You can position it on the edge of the object or even outside the object. By releasing the mouse click, the change will be applied, and the stitches of the object will be recalculated to adjust to the change you made.

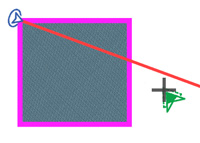
You can also change an "Entry" or "Exit" point of an object by using the relative option from the right-click menu while you are in object “Selection” mode. To do that select an object and then right click on it. From the pop-up menu expand the “Change Entry/Exit” option and then select either “Change Entry point” or “Change Exit point” option. The cursor will change to cross and you can set the new Entry/Exit point by clicking on the position you want.

If you want to cancel your change you can press the ‘Esc’ key.
Reset "Entry" or "Exit" points
If you want to reset the position of an "Entry" or "Exit" point, hover over it and double click when the cursor changes into a cross. It requires that you have already changed their position, otherwise they will remain at the same position.
You can also reset an "Entry" or "Exit" point of an object by using the right-click menu while you are in object “Selection” mode. Select the object and from the right click menu expand the “Change Entry/Exit” option and then select either “Change Entry point” or “Change Exit point” option.
The cursor will change to cross, and you can reset Entry/Exit point to its initial position by "Right-clicking" once. For example, if you have selected the "Change Entry Point" the software will reset the entry point to its initial position (if it has been changed) and exit this mode.